Prep time: 10 mins | Cook time: 20 mins | Total time: 30 mins | Yield: 4 SERVINGS
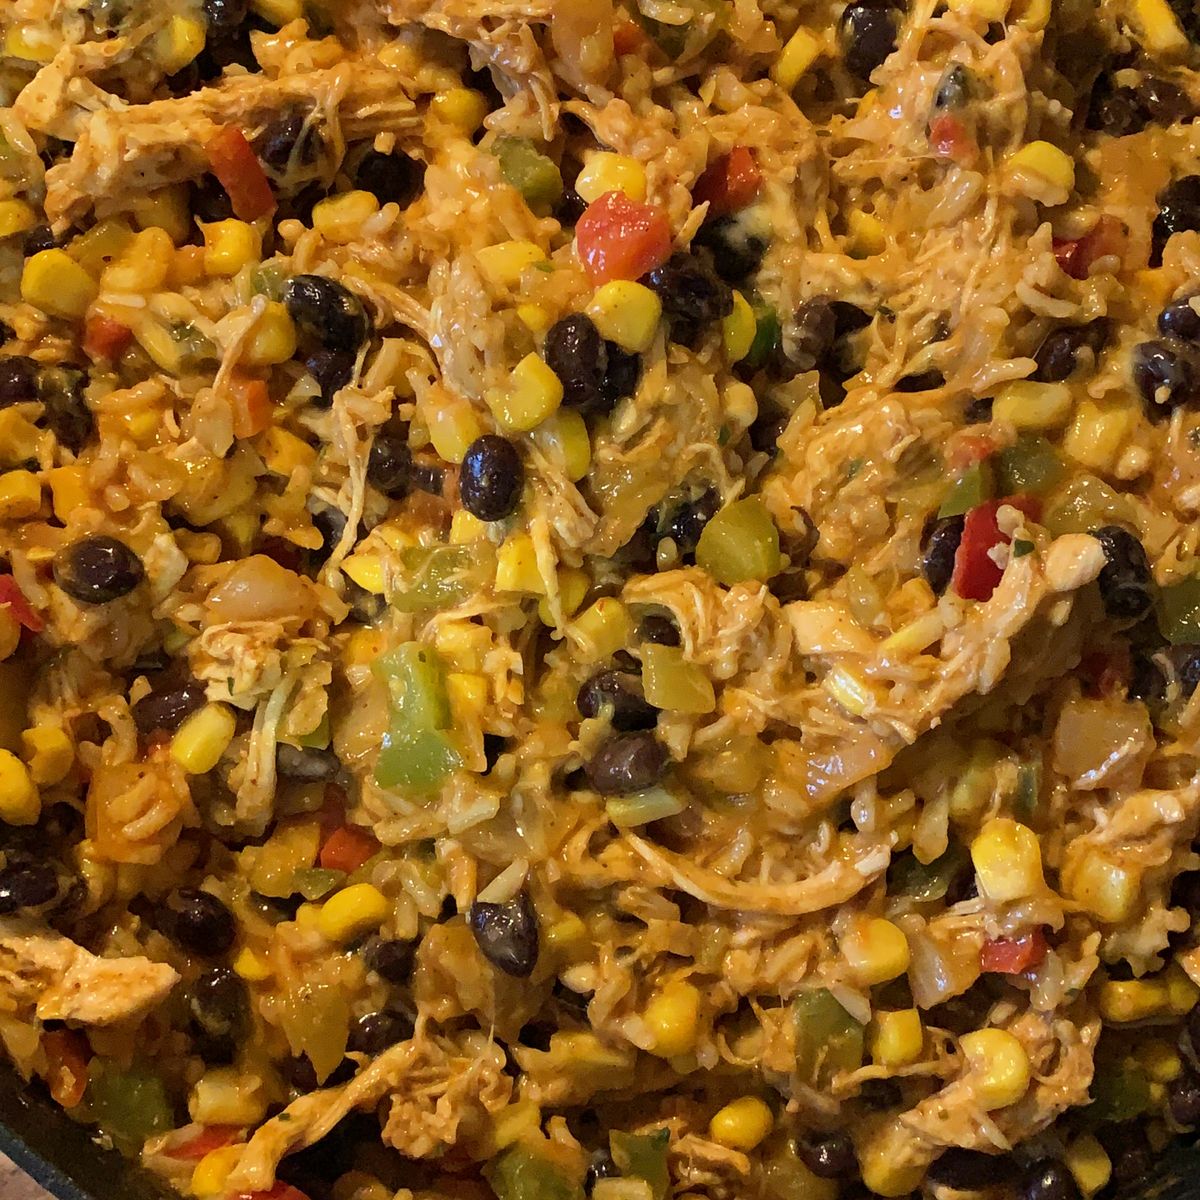
I love the cheesy enchilada, and this skillet version is the easiest and the quickest cheesy enchilada recipe. No rolling or folding is needed. All you need to do is simply throw everything in your skillet, and you are all good! Enjoy all your favorite enchilada flavors without a fuss with this mouthwatering cheesy enchilada rice skillet. And the melted cheese on top is to die for! A one-skillet meal that is perfect for a filling dinner any time!
INGREDIENTS
1 tbsp olive oil
1 c. uncooked rice
2 cloves garlic, minced
1 small onion, diced
1 c. canned corn kernels, drained
1 bell pepper, diced
1/2 c. Old El Paso™ mild green enchilada sauce
3/4 c. Old El Paso™ mild enchilada sauce
1/2 tsp chili powder
1/4 tsp oregano
1/4 tsp cumin
1 c. canned black beans, drained and rinsed
2 tbsp chopped fresh cilantro leaves
1 c. shredded Mexican blend cheese
Kosher salt and freshly ground black pepper, to taste
HOW TO MAKE CHEESY ENCHILADA RICE SKILLET
Step 1: Following the package directions, cook the rice in a large saucepan with 1 1/2 c water. Set aside when done.
Step 2: In a large skillet, heat the olive oil over medium-high heat. Once the oil is hot, add the garlic, onion, and bell pepper to the skillet. Cook for approximately 2 to 3 minutes, stirring often, until the onions are translucent.
Step 3: To the skillet, add the rice, corn, black beans, enchilada sauces, chili powder, cumin, and oregano. Stir well and continue to cook for another 2 to 3 minutes until heated through. To taste, season with salt and pepper.
Step 4: Take the skillet off the heat when done and sprinkle the cheese on top. Put the lid on and let it sit for about 2 minutes or until the cheese has melted.
Step 5: Before serving, garnish with some cilantro. Enjoy the cheesy enchilada, rice skillet right.
