Prep Time: 5 mins | Cook Time: 20 mins | Total Time: 25 mins | Servings: 2 as a main; 4 with some sides
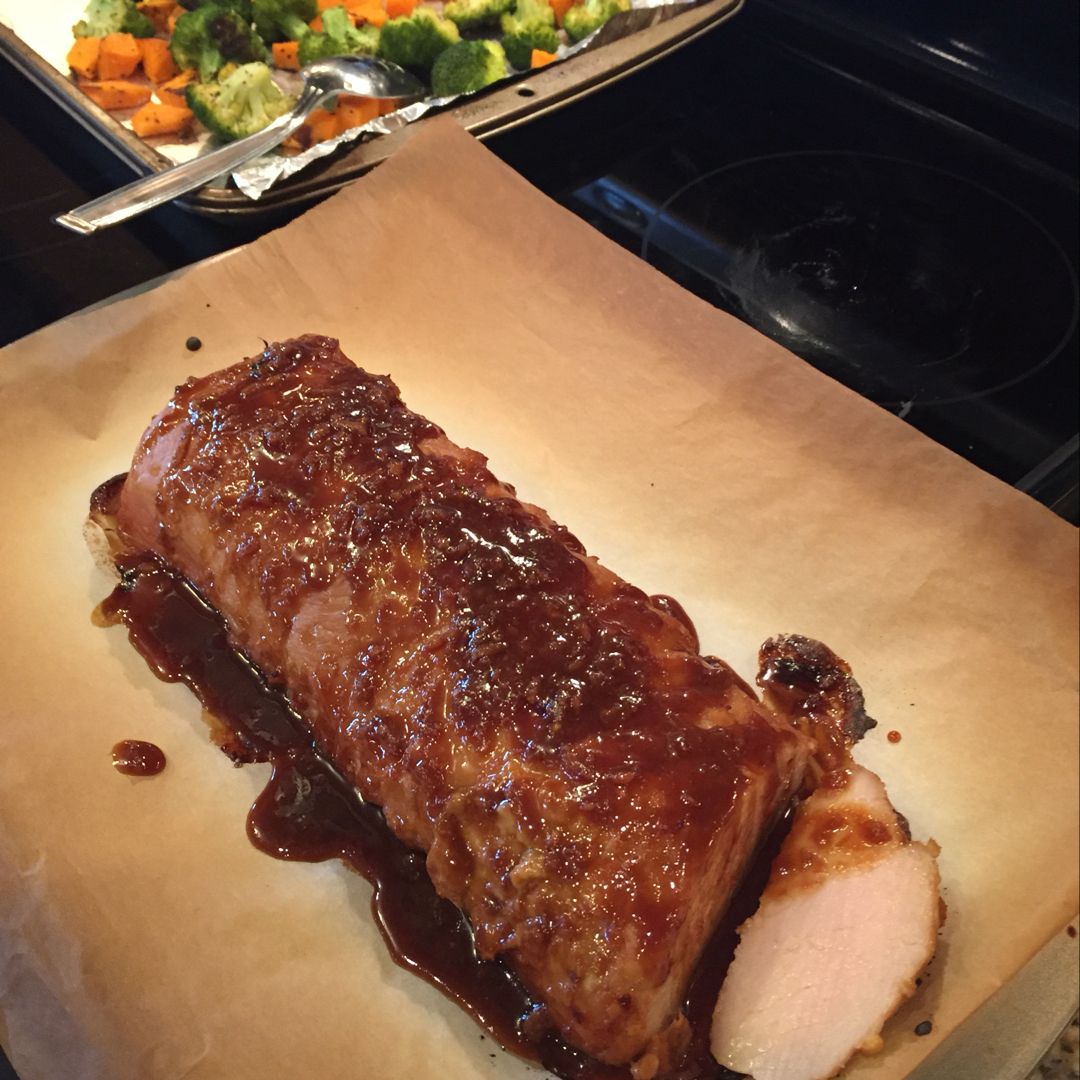
I am obsessed with this Teriyaki Pork Tenderloin with Maple-Ginger Glaze. This is made with only a few simple ingredients combined to guarantee the best dinner option! The simple, healthy, and gluten-free ginger-glaze, marinade is made with a simple four-ingredient. The secret is the grated ginger. To make sure the marinade sip into the pork, marinate for at least an hour or preferably overnight. After baking, the tenderloin gets that impressive, very beautiful golden crust. Serve this Teriyaki Pork Tenderloin over ramen or quinoa with steamed bok choy on the side.
Ingredients
1 lb. pork tenderloin
2 large garlic cloves, minced
¼ c. organic maple syrup
2” fresh ginger root, minced
2 tbsp thinly sliced scallions for garnish
¼ c. gluten-free tamari
How to make Teriyaki Pork Tenderloin with Maple-Ginger Glaze
Step 1: Place the maple syrup, tamari, garlic, and ginger in a small mixing bowl. Mix well until smooth. To a resealable plastic bag, transfer the marinade and add the pork. Toss to coat well. Place in the fridge for at least an hour up to overnight to marinate the pork.
Step 2: Prepare the oven. Preheat it to 500 degrees.
Step 3: On a parchment paper-lined baking sheet, transfer the marinated pork. Place in the preheated oven and roast for about 20 minutes or until the top of the pork is nicely browned. Remove from the oven when done and let the pork rest on a cutting board for at least 10 minutes.
Step 4: In the meantime, pour the rest of the marinade into a small saucepan and cook for about 5 minutes over medium heat, stirring often until reduced by half.
Step 5: In the bias, slice the pork and drizzle with the reduced sauce. Garnish with scallions and serve the Teriyaki Pork Tenderloin right away over quinoa or ramen with steamed bok choy on the side. Enjoy!
