Prep Time: 10 mins | Cook Time: 20 mins | Yield: 6 to 8 servings
Apple Enchiladas, anyone? This amazed me the first time I tasted it. I just love how all the ingredients complement well with each other. The sweet flavour of these little treats will make your day extra special. Invite friends over and let them experience the simplicity of these sweet enchiladas. By the way, you can add more apple pie filling on each tortilla if you want it to full-packed! I highly recommend you do it. Thank me later! Feel free to add more ingredients if you wish. For example, you can mix the apple pie filling with another fruit filling. I have not tried it yet, but one of these days, I will. Enjoy!
Ingredients:
21 ounces can apple pie filling
6 8-inches tortillas
1 teaspoon cinnamon
1/2 cup butter
1/2 cup white sugar
1/2 cup brown sugar
1/2 cup water
Directions:
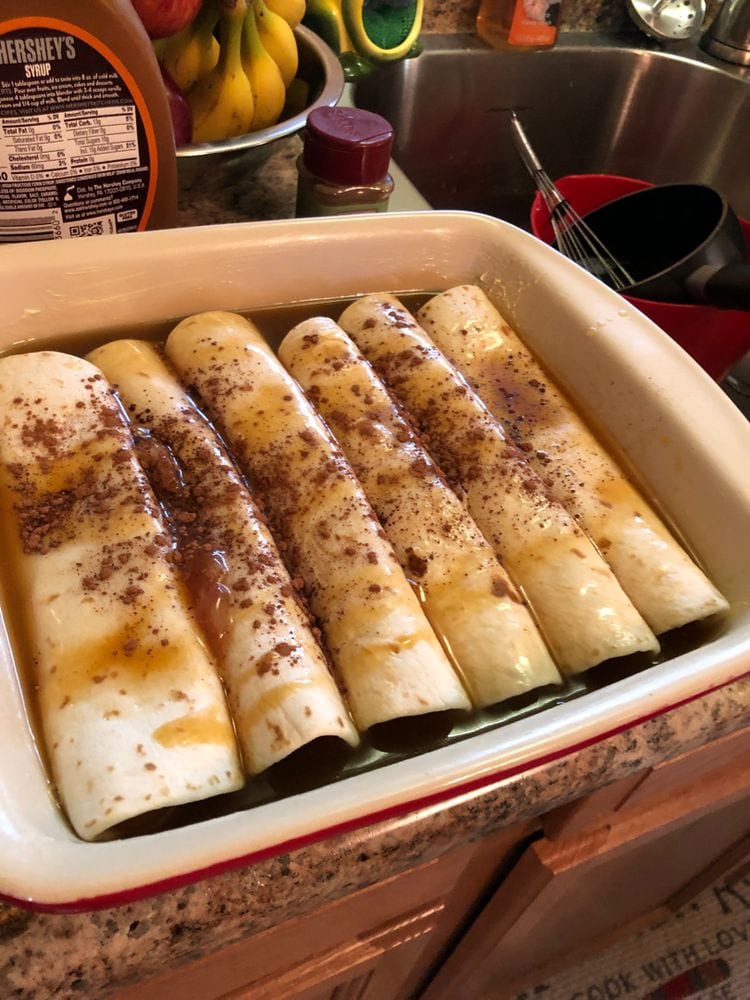
Step 1: Prepare a 9×13-inch casserole dish.
Step 2: Spoon about a quarter cup of the pie filling in the middle of each tortilla.
Step 3: Sprinkle each filled tortilla with cinnamon.
Step 4: Roll each tortilla and tuck in the sides.
Step 5: Place them into the prepared casserole dish seam side down.
Step 6: Place a medium saucepan on the stove and turn the heat to medium.
Step 7: Add in the butter, water, brown sugar, and white sugar. Stir until well mixed, then allow the mixture to boil.
Step 8: Stir from time to time and simmer for 3 minutes over low heat.
Step 9: Remove from the heat and pour the sauce over the enchiladas. Let it sit for at least 45 minutes.
Step 10: Place the casserole dish inside the oven and turn the heat to 350 degrees F. Bake for 20 minutes or until the colour of each tortilla turns golden brown.
Step 11: Remove from the oven and let it sit at room temperature to cool for at least 5 minutes.
Step 12: Serve and enjoy!